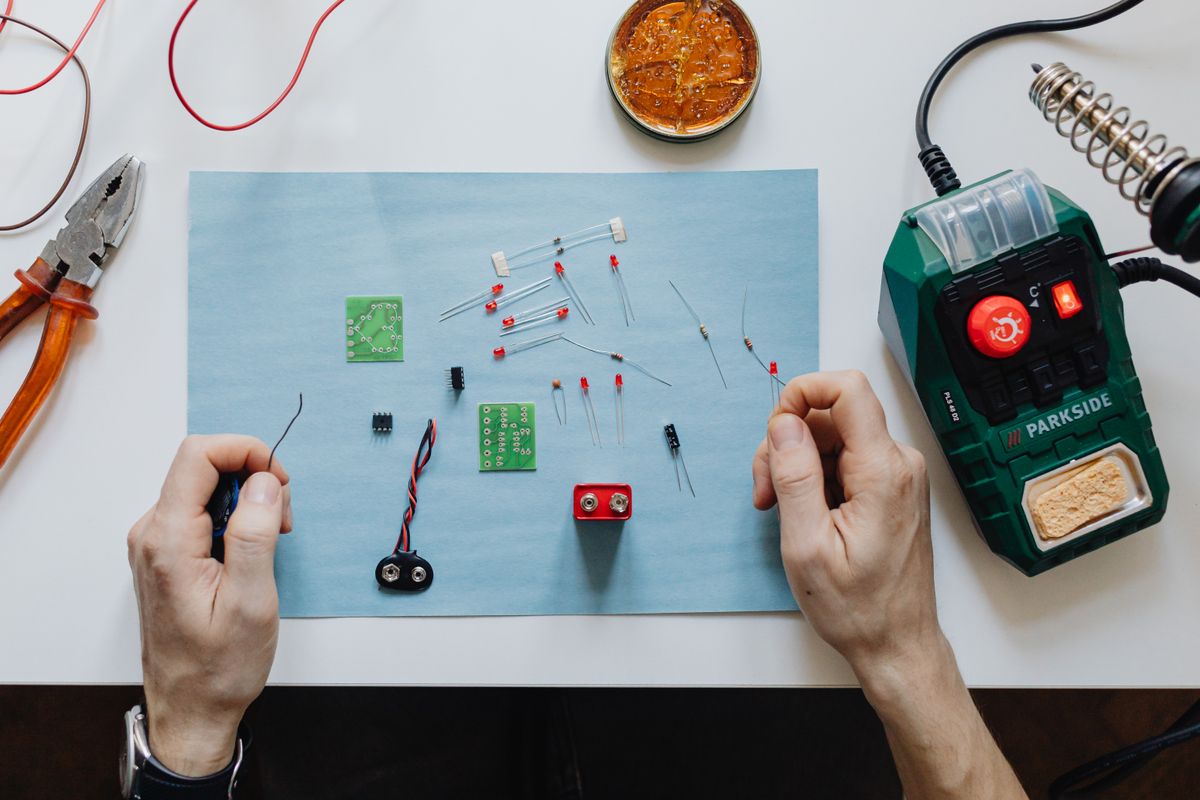
The simplest way to answer 'how do you make a laser' is to repurpose the laser diode from a discarded DVD burner. With basic tools and about an hour, you can build a working red laser pointer that burns dark plastic and lights matches. This guide covers how to make a laser from a DVD diode step by step, explains how commercial laser pointers work, and — most importantly — what you must know before powering it up.
Here is what we cover: how to extract a laser diode from a DVD burner, build a simple driver circuit, assemble the pointer, and the physics of how red and green laser pointers produce their beams.
Safety First — Read This Before Building
A laser diode from a 16x DVD burner puts out roughly 150–300 mW of 650 nm red light. That is enough to cause permanent retinal damage in a fraction of a blink — before your reflex closes your eye. You cannot see the damage happening because there are no pain receptors in your retina.
You must wear laser safety glasses rated for 650 nm (OD4+) whenever the laser is powered. Never point the beam at people, animals, reflective surfaces, or aircraft. Work in a room with controlled access. Treat a DIY laser like a power tool, because that is what it is.
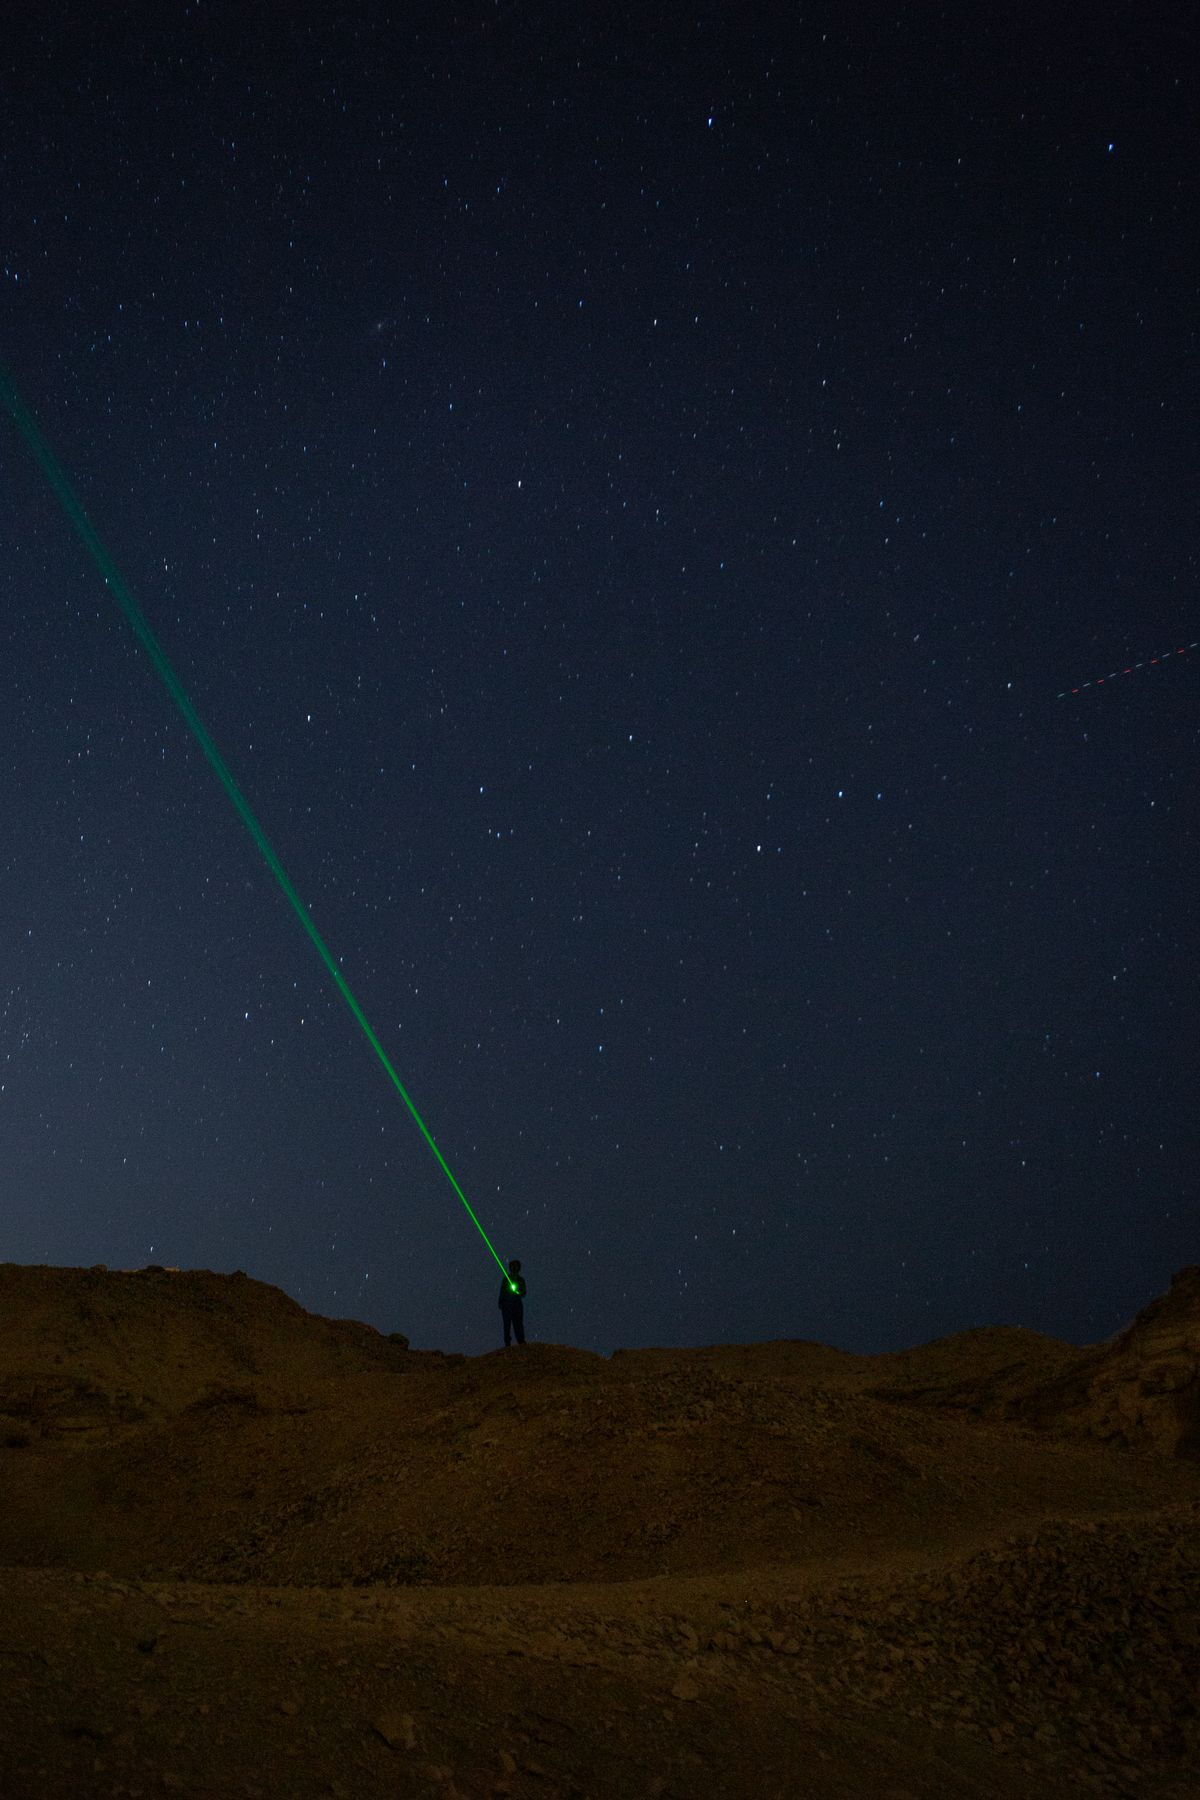
How Laser Pointers Work — The Physics Behind the Beam
Before you build one, it helps to understand what you are building. Every laser pointer — red, green, blue, or violet — works on the same principle: stimulated emission inside a semiconductor chip.
Picture a crowd leaving a stadium through a single turnstile. If everyone pushes randomly, they jam up. Now picture the same crowd marching in step, each person following at exactly the same distance. The second crowd moves far more efficiently. In a laser, the electrons in the semiconductor are the crowd, and the turnstile is the optical cavity formed by the two cleaved edges of the chip. Electric current makes the electrons excited; a passing photon triggers them to release identical photons — same wavelength, same direction, same phase. That is stimulated emission. The photons bounce between the chip's facets, growing in number, until enough escape as the beam you see.
A laser diode is just a semiconductor chip with two carefully polished edges that act as mirrors. The chip is about the size of a grain of sand. Run current through it, and it produces coherent light at a specific wavelength determined by the semiconductor materials.
Red Laser Pointers (650 nm)
A red pointer uses a direct-emitting diode. The semiconductor material — typically AlGaInP — is chosen to produce light at 650 nm (red). The chip's facets are the mirrors. Apply current, get red light. Simple, efficient, and cheap.
Green Laser Pointers (532 nm) — DPSS
Green pointers are more interesting. There is no laser diode that directly produces 532 nm green light at reasonable cost. Instead, green pointers use a technique called Diode-Pumped Solid-State (DPSS) frequency doubling:
- A high-power infrared diode at 808 nm pumps a Nd:YAG crystal.
- The Nd:YAG crystal emits 1064 nm (infrared — invisible).
- That 1064 nm beam passes through a KTP crystal (potassium titanyl phosphate).
- The KTP crystal doubles the frequency — halving the wavelength — to 532 nm (bright green).
Think of it like a colour-changing fountain. Invisible infrared goes in one end of the module, bright green comes out the other, with a crystal inside that shifts the colour by squeezing the wave into half its original length. This is also why green pointers are more expensive, less efficient, and more sensitive to temperature than red ones. The extra crystals add cost and complexity.
The human eye is most sensitive to light at 532 nm — roughly 3–4 times more sensitive than at 650 nm. That is why a 5 mW green pointer appears much brighter than a 5 mW red one, even though the power output is identical.
A Common Misconception: Green Laser Pointers Are More Powerful
Many people assume green pointers are inherently more powerful because they look brighter. They are not. A 5 mW green pointer and a 5 mW red pointer emit the same optical power. The green one only looks brighter because the eye's peak sensitivity (photopic vision) sits right at 532 nm. In absolute terms, a green pointer wastes more input power — the DPSS conversion efficiency is only 20–30%, compared to 40–50% for a direct red diode.
How Do You Make a Laser? What You Need from a DVD Burner
| Item | Purpose | Notes |
|---|---|---|
| DVD burner (16x or higher) | Source of the laser diode | Look for "16x" or "DVD-RW" on the label |
| Small screwdriver set | Disassembly | Jeweller's Phillips-head |
| LM317 voltage regulator | Driver circuit core | TO-220 package |
| Resistors (1–10 ohm) | Current limiting | 1/4 W or higher |
| Capacitors (10 µF and 100 nF) | Driver circuit filtering | Electrolytic and ceramic |
| 9V battery + clip | Power source | Or a 3x AA battery holder |
| Breadboard or perfboard | Prototype circuit | Small piece, ~3x5 cm |
| Aluminium flashlight body | Heatsink + housing | Cheap metal flashlight, 12–15 mm bore |
| Laser safety glasses (OD4+ at 650 nm) | Eye protection | Non-negotiable |
| Multimeter | Testing | Measures current and continuity |
A DVD burner's diode is a 650 nm red laser diode rated for roughly 150–300 mW of continuous output. The exact power depends on the drive speed — faster drives contain more powerful diodes.
Step 1: Extract the Laser Diode from the DVD Burner
Open the DVD burner by removing the four screws on the bottom. Slide off the metal cover. Inside you will see the optical pickup assembly — a small metal sled that moves along a pair of rails. The laser diode sits inside this assembly.
The pickup contains three lasers: a DVD read/write diode (650 nm, red), a CD read/write diode (780 nm, infrared — invisible!), and a photodetector. You want the DVD diode. It is housed in a small metal can with three pins, usually mounted on a small heatsink block.
Carefully desolder the diode from the flex cable. Use a fine-tipped soldering iron and work quickly — the diode is static-sensitive and heat-sensitive. Alternatively, clip the legs and unscrew the module from the pickup.
The diode has three pins: LD+ (laser diode anode), LD− (laser diode cathode), and PD (photodetector, used for feedback). The photodetector pin can be left unconnected.
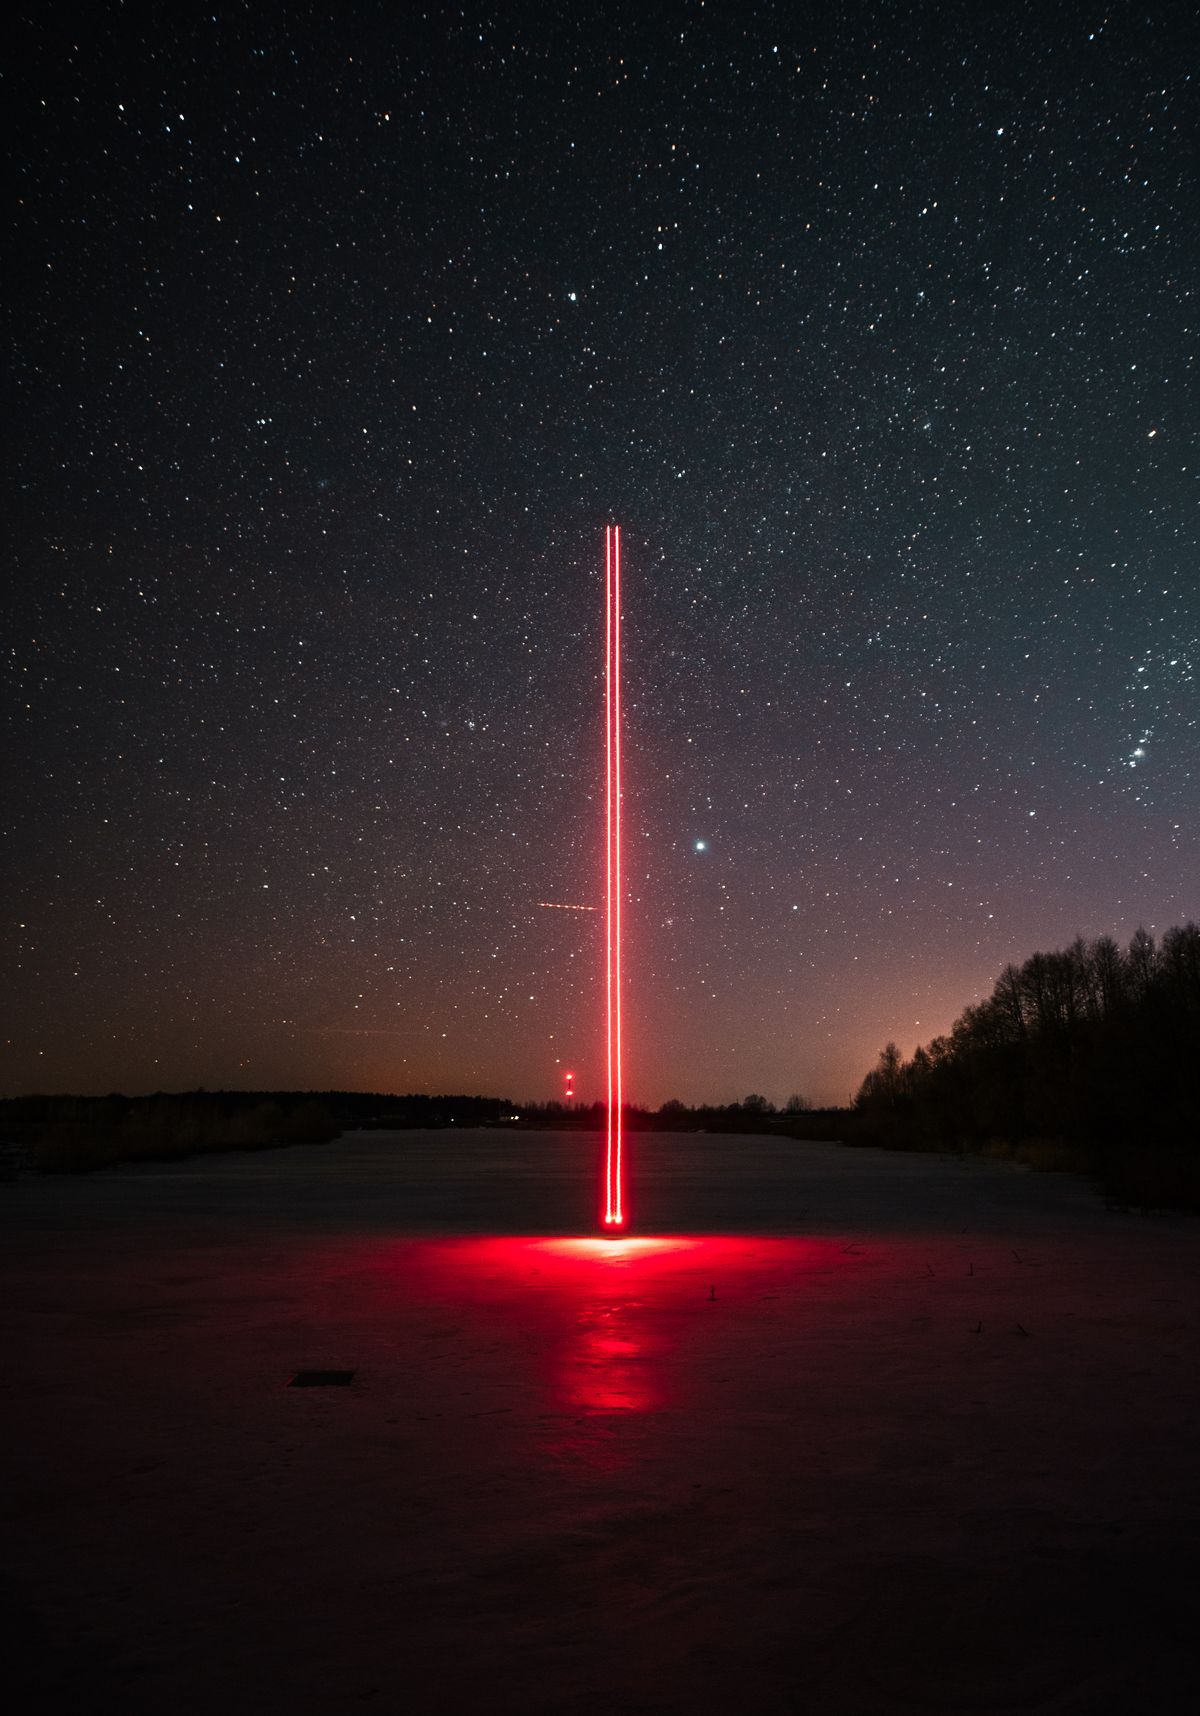
Step 2: Build the Laser Diode Driver Circuit
A laser diode is not a light bulb. Plugging it directly into a battery will destroy it in microseconds. You need a constant-current driver that supplies a precise current regardless of battery voltage.
The simplest driver uses an LM317 voltage regulator configured as a constant-current source:
- Connect the LM317's ADJ pin to ground through a resistor.
- Connect the OUT pin to the diode's LD+ (anode).
- Connect the IN pin to the battery positive terminal.
- The diode's LD− (cathode) goes to ground.
The resistor value sets the current: R = 1.25 V / I (where I is the desired current in amps). For a 250 mW diode at 2.5 V forward voltage, aim for about 250–300 mA. A 4.7 ohm resistor gives about 265 mA.
Add a 10 µF electrolytic capacitor across the input and a 100 nF ceramic capacitor across the output to suppress voltage spikes. Spikes kill laser diodes.
Step 3: Mount the Diode in a Heatsink
A laser diode running at 300 mA generates significant heat. Without a heatsink, the diode will overheat in seconds and die — a process called thermal runaway, where heat increases current draw, which generates more heat, which kills the diode.
The easiest heatsink is an aluminium flashlight body. Remove the flashlight's bulb and reflector. The diode module fits into the bore where the bulb was. Use thermal paste between the diode can and the aluminium. The entire flashlight body becomes the heatsink.
Step 4: Assemble and Align
Insert the diode module into the flashlight head. Connect the driver circuit — either inside the flashlight tube or in a separate box. Attach a momentary push-button switch (not a toggle — you want the laser on only when deliberately held).
A simple lens from a laser pointer or a collimating lens from the DVD pickup will focus the beam. Adjust the lens by turning it while the laser is running at low power until the spot is as small and bright as possible at a distance of 3–5 metres.
Step 5: Test Safely
Put on your safety glasses. Connect the battery. Press the switch. You should see a bright red spot on the wall. Never look directly at the spot or the diode aperture — even with glasses, avoid staring at the beam.
Measure the current with your multimeter in series with the diode. Adjust the resistor if the current is higher or lower than your target.
Step 6: Current-Limit for Longevity
The extracted DVD diode's datasheet is rarely available. A safe starting current is 200–250 mA for a diode from a 16–20x burner. Do not exceed 350 mA — the diode will fail quickly above this. If you want more power, buy a rated diode module from a supplier rather than overdriving an unknown one.
Step 7: Add Safety Features
A bare DIY laser is dangerous. Add these features to make it safer:
- Momentary switch only — the laser turns off when you release it
- Key lock — prevents unauthorised use
- LED indicator — shows when the laser is powered
- Label — "LASER — AVOID EYE EXPOSURE — CLASS 4"
Common DIY Mistakes
Using the wrong diode. DVD burners contain an infrared diode (780 nm) alongside the red DVD diode. The infrared diode is invisible when operating and extremely dangerous because your blink reflex does not trigger. Make sure you have the red diode.
Skipping the driver circuit. Connecting a laser diode directly to a battery kills it nearly instantly. Diodes are current-driven devices, not voltage-driven. A small voltage change causes a large current change.
Insufficient heatsinking. A diode running without a heatsink will overheat in under 30 seconds. The wavelength shifts, the power drops, and eventually the facet coating burns off — permanent damage.
Testing without safety glasses. This is not overly cautious. A 300 mW laser can cause permanent vision loss from a reflected beam off a wall, a watch face, or a screwdriver shaft.
External resources
- Wikipedia: Laser diode — detailed article on semiconductor laser physics, including materials, wavelengths, and common applications
- Sam's Laser FAQ — the definitive online resource for hobbyist laser builders, with detailed sections on DVD diode extraction and driver circuits
- RP Photonics: DPSS Lasers — technical reference on diode-pumped solid-state lasers and frequency doubling
See our guide on how laser light works for the physics of stimulated emission, and the history of the laser for how Theodore Maiman built the first working laser in 1960. For a comparison of different types, read about the types of lasers.
Frequently Asked Questions
Is it safe to make a laser at home?
A DIY laser made from a DVD burner diode can cause permanent eye damage in milliseconds. You must wear laser safety glasses rated for the diode's wavelength whenever it is powered, and never point the beam at people, animals, reflective surfaces, or aircraft. This is not a toy. Treat it with the same caution you would a soldering iron or power tool.
What do you need to make a laser?
You need four things: a laser diode extracted from a DVD burner (16x or higher), a laser diode driver circuit (a simple LM317-based constant-current driver works), a heatsink (an aluminium flashlight body or machined block), and safety glasses rated for the diode's wavelength. The diode provides the light, the driver controls the current, and the heatsink prevents thermal runaway.
How do green laser pointers work?
Green laser pointers use DPSS technology. A high-power infrared diode laser at 808 nm pumps a Nd:YAG crystal, which emits 1064 nm infrared. That 1064 nm beam then passes through a KTP crystal that doubles the frequency to 532 nm — bright green. This is why green pointers are more expensive and less efficient than red ones: they convert infrared to green through two crystals inside the module.
What is the difference between a red and a green laser pointer?
A red laser pointer uses a simple diode laser emitting directly at 650 nm. A green pointer uses a DPSS module with an infrared diode plus two crystals to produce 532 nm green. Green appears 3-4 times brighter than red at the same power because the human eye is most sensitive to 532 nm. Green pointers are also less efficient (20-30% vs 40-50%) and more temperature-sensitive because of the extra optics.
Can you make a laser pointer brighter?
Increasing the current to the laser diode makes it brighter — up to a point. Exceed the diode's rated current and it will die within seconds from catastrophic optical damage. A 300 mW red diode run at 400 mW may last minutes before failing. If you want a brighter pointer, buy a diode rated for higher power rather than overdriving a cheap one.
How do laser pointers work?
All laser pointers work by passing current through a semiconductor laser diode chip. The chip has two cleaved facets that act as mirrors, forming an optical cavity. Electricity excites electrons in the semiconductor, which release photons through stimulated emission. Those photons bounce between the facets, growing stronger, until they exit as a coherent beam. Red pointers produce 650 nm directly from the diode. Green pointers use infrared diodes plus frequency-doubling crystals to reach 532 nm.

About Umar Farooq
Umar Farooq writes in-depth guides on the physics of light and optics — from reflection, refraction, and lenses to diffraction, lasers, and fiber optics, explained from first principles.
Read more about Umar Farooq →